The Strategic Decision: Same Direction, Different Instruments
You believe NVDA is going higher. You have two fundamental choices: buy a call or sell a put. Both profit from a rising stock price, yet they behave differently under every market condition. Choosing the wrong one can turn a correct directional thesis into a losing trade.
The same asymmetry exists on the bearish side. If you expect a decline, you can buy a put (limited risk, large reward) or sell a call (immediate income, limited reward, significant risk). The decision is not about direction — it is about how you expect the move to unfold, what the current volatility regime is, and how much risk you are willing to accept.
This article answers one question: given a directional view, which instrument do you use and why? It integrates the IV Rank regime filter, Delta-based strike selection, expiration timing, and risk management by Greeks into a single decision framework. For a complete walkthrough of how each position behaves dollar-by-dollar as price moves for or against you, see The Four Option Positions →.
Bullish: Long Call vs. Short Put
Both positions profit when the stock rises — but they carry opposite Greek exposure and suit opposite volatility regimes. For the full mechanics of each position — P&L per dollar of price move, Gamma behavior, worst-case scenarios with concrete numbers — see The Four Option Positions →. The question here is not what each position is, but when to use each.
Long Call — The Conviction Play
The long call is the right choice when:
- You expect a large, fast directional move. The long call needs the stock to move significantly to overcome the premium paid. Small or slow moves will be eaten by time decay before generating profit.
- Implied volatility is low (IV Rank < 30%). When IV is low, premiums are cheap. You are buying options at a discount relative to their historical pricing. If IV expands after your entry, Vega works in your favor — the option gains value even before the stock moves.
- You need strictly limited risk. The long call’s maximum loss is defined at entry. No margin calls, no assignment risk, no gap-down catastrophe. This makes it ideal for event-driven trades (earnings, FDA approvals, macro announcements) where the downside is unknowable.
The strategic constraint: Time decay (Theta) works against you every day, accelerating in the final 2–3 weeks. If the stock does not move fast enough, you can be directionally correct but still lose money — a risk that increases when IV is high at entry (expensive premium requiring a larger move to overcome).
Short Put — The Income Play
The short put is the right choice when:
- You expect the stock to stay flat or rise moderately. The short put profits in three scenarios: stock goes up (any amount), stock stays flat, or stock drops slightly (as long as it remains above your breakeven = strike − premium received). This gives you a significantly higher probability of profit than the long call.
- Implied volatility is elevated (IV Rank > 50%). High IV means fat premiums. You are selling expensive insurance. The Variance Risk Premium (VRP) — the structural tendency of implied volatility to overstate realized moves, documented in Implied vs. Historical Volatility → — is working in your favor approximately 85% of the time. Selling options when IV is high captures this structural edge.
- You are comfortable owning the stock at a lower cost basis. If the stock drops below your strike and you are assigned, you effectively buy the stock at the strike price minus the premium received. Many institutional investors use short puts as a strategic entry mechanism — they get paid to wait for a price they want.
The strategic constraint: Risk is substantial and loss acceleration is asymmetric. As a short put moves ITM, Delta and Gamma both increase — each additional dollar of decline generates a larger loss than the last. If the stock crashes, your loss can be multiples of the premium received. Margin requirements are significant, and assignment can occur at any time for American-style options.
Bearish: Long Put vs. Short Call
The same IV regime logic applies on the bearish side. Long puts suit low-IV environments where a sharp, fast decline is expected. Short calls suit high-IV environments where the stock is expected to stay flat or drift lower slowly. For full P&L mechanics of both positions, see The Four Option Positions →.
Long Put — The Insurance Play
Choose the long put when:
- You expect a sharp decline or a volatility expansion event. The long put profits most when the move is large and fast — theta decay erodes value if the stock drifts lower slowly.
- IV is relatively low. Puts are cheap, and a crash will spike IV simultaneously (Vega profit stacks on top of directional profit). Buying puts when IV is already elevated means paying an expensive premium for a move that would need to be even larger to generate profit.
- You need defined risk. Particularly useful when shorting stock is unavailable or carries high borrow costs. Maximum loss is the premium paid — regardless of how far the stock rallies against you.
Short Call — The Decay Play
Choose the short call when:
- You expect the stock to stay flat or decline moderately. The short call profits whenever the stock stays below the strike at expiration, giving you a probability-of-profit advantage over the long put in range-bound or slowly declining markets.
- IV is elevated. You are selling expensive call premiums that will decay as IV normalizes. The same VRP edge that benefits short put sellers applies here on the bearish side.
- You are covered (own the underlying stock). The covered call caps your upside but generates income while you hold the position. This is the most common institutional use of short calls — a defined-risk, income-generating overlay on an existing long position.
Critical warning: Naked (uncovered) short calls carry theoretically unlimited risk. A short squeeze or gap-up event can generate losses that dwarf the premium collected by orders of magnitude. Naked short calls should only be used by experienced traders with strict stop-loss discipline and real-time gamma monitoring.
Strike Selection: The Delta Framework
Strike selection is where most retail traders fail. Choosing the “cheapest” option (far OTM) feels intuitive but is statistically the worst approach — the probability of profit is extremely low, and the entire premium is at risk. The professional approach uses Delta as a strike selector.
Delta as Probability Proxy
Delta approximates the probability that an option expires in-the-money — for example, a call with Delta 0.30 has roughly a 30% chance of finishing ITM. A complete breakdown of this relationship, including its risk-neutral probability basis, is in Options Greeks Explained →. In practice, Delta gives you a natural framework for balancing cost against probability across four distinct zones:
- Delta 0.50 (ATM): 50% probability of profit. Maximum Gamma and maximum Theta. The “maximum uncertainty” strike — it reacts most aggressively to price changes (highest Gamma) but also loses the most time value per day. Best for: traders with strong directional conviction and short time horizons who want maximum leverage.
- Delta 0.40–0.60 (Slightly ITM to Slightly OTM): The professional sweet spot for directional buying. High enough Delta to capture meaningful price movement; not so deep ITM that the option is expensive with little extrinsic value. Research and practitioner consensus recommends this range for balanced risk/reward in directional trades.
- Delta 0.20–0.30 (OTM): The premium seller’s sweet spot. For short puts, a Delta of 0.20–0.30 means approximately 70–80% probability of the option expiring worthless. The premium collected is smaller, but the probability of keeping it is high. Institutional put sellers typically target this range with 30–45 DTE, aiming for 50% profit before expiration.
- Delta 0.05–0.15 (Far OTM): “Lottery ticket” territory for buyers; “picking up pennies” territory for sellers. The probability of ITM is very low, but the risk/reward on a per-trade basis is extreme in both directions. Not recommended for consistent strategies.
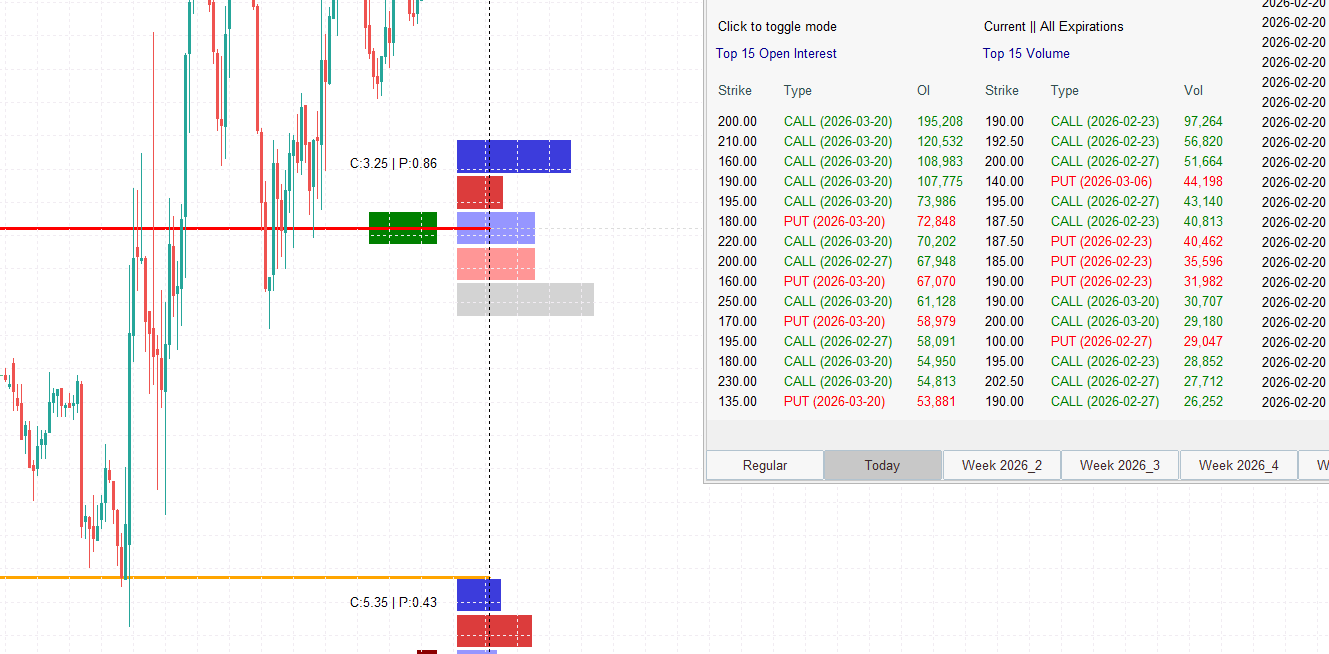
StrikeWatch EA’s X-Ray Vision Tooltips display the exact Delta, Gamma, Theta, and Bid/Ask spread for every strike directly on the price chart. Hover over a strike level to see its complete risk profile — no need to open a separate options chain.
Expiration Timing: The DTE Decision
The time to expiration (DTE) you choose fundamentally shapes the trade’s behavior:
- 0–7 DTE (“Scalp” horizon): Maximum Gamma, maximum Theta. Options are extremely sensitive to price movement but lose value at an accelerating rate. A 1-day ATM option has approximately 2.65× the Gamma of a 7-day option. Use for high-conviction, event-driven trades where timing is precise. The extreme end of this range — same-day contracts — is a structurally distinct regime covered in depth in 0DTE Options →.
- 14–30 DTE (“Swing” horizon): Balanced Gamma and Theta. Enough time for a thesis to play out without catastrophic daily time decay. This is the most common range for premium sellers — Theta decay is meaningful but not yet accelerating dangerously.
- 30–45 DTE (“Standard” horizon): The institutional standard for premium selling strategies. The Theta/Gamma ratio is most favorable in this range — you collect meaningful decay while maintaining manageable Gamma risk. Short put sellers targeting Delta 0.20–0.30 at 30–45 DTE represent the backbone of systematic premium harvesting.
- 60–180 DTE (“Position” horizon): For long options, this range minimizes Theta decay while maintaining exposure. The daily Theta cost is lower (proportional to 1/√DTE), giving your thesis more time to develop. Vega exposure becomes dominant — if IV drops after entry, the position can lose value even with favorable price movement. The full mechanics of long-dated option positioning are covered in LEAPS: Long-Term Options Strategy Guide →.
StrikeWatch EA processes up to 10 expiration dates simultaneously, letting you compare the Greek profiles across the entire term structure and select the expiration that best matches your strategy’s time horizon.
When the Trade Goes Wrong: Risk Management by Greeks
The difference between an amateur and a professional is not how they enter trades — it is how they manage them when the market moves against them. Each position has a distinct risk profile governed by the Greeks:
Long Call Under Pressure
If the stock drops after buying a call, Delta decreases (the option becomes less sensitive to further declines — a natural “self-limiting” loss characteristic). However, Theta continues to erode value daily. The management decision:
- Exit immediately if the thesis is invalidated (support broken, fundamental change).
- Roll down and out: Close the current call, open a lower strike with a later expiration. This reduces the cost basis and extends the timeframe — but adds new premium at risk.
- Do nothing and accept the loss if the premium paid is within your predetermined risk budget. The maximum loss is defined — this is the long option’s key advantage.
Short Put Under Pressure
If the stock drops after selling a put, losses accelerate because Delta increases (the put becomes more sensitive to further declines as it moves ITM). Gamma amplifies this effect — near-ATM, each additional $1 drop increases your Delta exposure by the Gamma value, creating an accelerating loss trajectory. The management decision:
- Close the position when the loss equals 2× the premium received. This is the standard institutional rule — if you collected $200 in premium, exit at $400 loss. The probability of recovery beyond this point is statistically low.
- Roll down and out: Close the current short put, sell a new put at a lower strike with a later expiration for a net credit. This extends the trade and lowers the effective strike — but it delays the resolution and increases total capital at risk.
- Hedge with a long put at a lower strike: This converts the naked short put into a bull put spread, defining the maximum loss. The cost is the premium paid for the hedge, which reduces your net credit.
The Decision Matrix
The following framework summarizes when to choose each position based on the market conditions observable through StrikeWatch EA:
| Condition | Bullish: Long Call | Bullish: Short Put | Bearish: Long Put | Bearish: Short Call |
|---|---|---|---|---|
| Expected Move | Large, fast | Flat to moderate up | Large, fast down | Flat to moderate down |
| IV Environment | Low IV (cheap) | High IV (rich) | Low IV (cheap) | High IV (rich) |
| Theta | Works against you | Works for you | Works against you | Works for you |
| Vega Preference | Long (benefit from IV rise) | Short (benefit from IV fall) | Long (benefit from IV rise) | Short (benefit from IV fall) |
| Max Risk | Premium paid | Strike − Premium | Premium paid | Unlimited |
| Max Profit | Unlimited | Premium received | Strike − Premium | Premium received |
| Optimal Delta | 0.40–0.60 | 0.20–0.30 | −0.40 to −0.60 | −0.20 to −0.30 |
| Optimal DTE | 30–90 days | 30–45 days | 30–90 days | 30–45 days |
| GEX Regime | Positive (stable, supported) | Positive (low vol, theta-friendly) | Negative (amplified moves) | Positive (rangebound) |
Strategy Selection Inside StrikeWatch EA
StrikeWatch EA provides the two data points that drive every cell in the matrix above:
- X-Ray Tooltips (On-Chart): Hover over any strike to see Delta, Gamma, Theta, Skew, and Bid/Ask spreads in a popup card. Select the exact strike that matches your Delta target (Section 4 above) without opening a separate options chain window. This is the primary tool for translating the decision matrix into a specific contract.
- Term Structure Heatmap: Compare IV, OI, and Volume across up to 10 expirations simultaneously. Select the DTE bucket (Section 5) that best matches your expected move horizon before choosing the strike.
- IV vs. HV and IV Rank (Summary Surface): Determines whether to buy or sell options. When IV > HV and IV Rank is elevated, sell premium. When IV < HV or IV Rank is low, buy options. This single check maps directly to the IV Environment row in the decision matrix.
- Net GEX & Zero Gamma Level (On-Chart): The gamma regime determines whether the market will support your trade or fight it. Positive GEX above the ZGL supports long calls and short puts; negative GEX below the ZGL amplifies long puts and makes short calls dangerous.
Same direction does not mean the same trade. A long call and a short put both profit
from a rising stock, but they have opposite Theta exposure, opposite Vega exposure, and fundamentally
different risk profiles. Choosing the wrong one for the regime costs money even when you are right on
direction.
The IV regime is the primary filter. Check IV Rank before selecting the instrument.
IV Rank below 30%: buy options (Vega works for you, premiums are cheap). IV Rank above 50%: sell
options (VRP works for you, premiums are expensive). This single check eliminates half the possible
strategies before you ever look at a strike.
The expected move size is the secondary filter. Large, fast move expected: buy options
to capture unlimited upside with defined risk. Flat to moderate move expected: sell options to harvest
Theta and VRP across a wide probability zone. The short put profits in three scenarios; the long call
profits in one.
Delta is your strike selector, not price. Target Delta 0.40–0.60 for directional
buying; Delta 0.20–0.30 for premium selling. “Cheapest” option (far OTM, low Delta)
is statistically the worst choice — low probability of profit with the entire premium at risk.
30–45 DTE is the institutional standard for premium selling. The Theta/Gamma
ratio is most favorable in this window. For long options needing time, use 60–90 DTE to reduce
daily bleed while maintaining directional and Vega exposure.
Short put losses accelerate; long call losses self-limit. As a short put moves ITM,
Delta and Gamma both increase — losses compound. The 2× premium rule (exit when loss =
2× credit received) is the standard institutional stop. Long call losses naturally decelerate
as the option moves OTM, which is why defined-risk buyers can afford to let losers run longer than
premium sellers.